|
A calendar is an excellent showcase for your favorite images as well as being an individual
gift for family and friends. This article details how to achieve a professional looking
product and it is based on my own experience.
There are several steps to achieving the finished product; these are summarized in the
following sections:
DESIGN AND LAYOUT
There are many options already set up on templates in MS Publisher; or you may decide to start
with a completely blank publication. There are helpful ‘wizards' for inserting text, text
boxes, frames, dates and pictures.
 My personal rule is ‘simple is best' and you need to take into account the following choices:
1. Size – A4 is workable.
2. Orientation – personal preference for landscape/portrait.
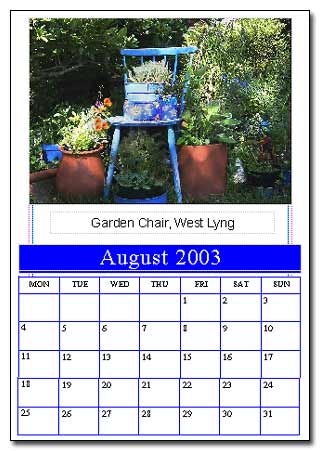
3. Location and size of image on the page.
4. Style – font for text and size and layout of date box (MS Publisher very helpfully
provides whole year date ranges so you don't have to work out which day of the week corresponds
to the date).
5. Color scheme – again, there are many choices but it is probably best to stick to a
plain scheme that does not detract from your images.
THE PHOTOGRAPHS
The hardest decision to make is the selection of images you are going to use. You need
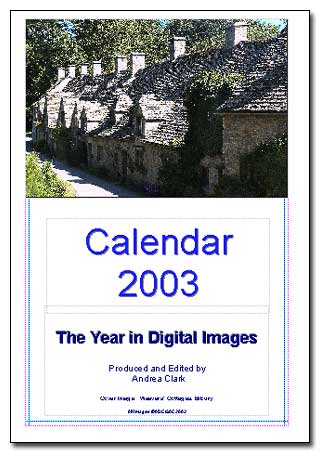
thirteen rather than twelve – to include a cover page which will also contain your author and
copyright details.
It is useful to place all the images destined for your calendar into a separate folder as you
make your final choices. This makes for easy editing and simplifies finding each file to copy
across into MS Publisher when you are ready to put together the final product.
Bear in mind the following when choosing images:
1. If you have hundreds of saved images to scroll through, try to settle on a theme for
the year, i.e. birds, buildings, landscapes etc, or a workable combination.
2. Select pictures that are right for the chosen orientation, i.e. portrait or landscape,
because if you need to resize images you may lose correct perspective for the images to look
‘true'.
3. Aim to suit the picture to the season, for example I used a frosty landscape for
January, a rose for June and rosehips for October.
4. Resize all your images to the same size in Photoshop. If you decide to add a frame, for
example a black 4 pixel bounding border, be consistent and add it to all the images. This may
sound obvious, but it is easy when you are concentrating on the overall look of the calendar,
to omit one of the stages.
5. Check also that resolution, hue and saturation and colors are balanced so that the
photographs look like a series rather than random images.
6. Finally, choose images with a clear focal point and plenty of color and interest –
remember each picture will be on display for a month!
COMPILATION
Once the images have been chosen, consistently enhanced and sized, the easy part of putting
together your calendar is carried out in MS Publisher.

Open the program and follow the appropriate ‘wizards' as required by your own level of
expertise. The guidelines on the page are most useful to ensure that all the images and the
text boxes are the correct size.
SAVING and PUBLISHING
When you are happy with it, save the finished calendar as an MS Publisher file – the program
will do this automatically. Copy the file to CD-ROM.
Printing costs are prohibitive for small numbers, so unless you intend to try to sell your
calendar on a commercial basis, it is preferable to have it color photocopied, This may not be
quite as refined as printing, but the excellent quality that is achieved does not detract from
the images.
The staff in my local print shop were very helpful. They assisted me in the choice of
appropriate paper, (with a heavier GSM for the front cover and back sheet). The calendar was
color photocopied, then perforated and bound with a ‘spring binder' across the top. The
cost worked out at £6 per calendar which I considered very reasonable.
It is not easy to find a way to hang the calendars – commercially produced calendars are
designed with a cutout at the top for ease of page turning. The only way I found around this
was to attach a small removable ‘S' shaped hook (actually a Christmas decoration hanger) that
could be removed and replaced each month when the page was turned.
Finally, this is just one way to produce a calendar. Many digital photo magazines will
produce templates for calendars in September/October and they may fit the bill for you. I
guess I wanted to pre-empt what was on offer, which I hope will encourage others who want to
create something that is really personal and individual.
| 
