The Dodge or Burn tools in Adobe Photoshop can be a very heavy handed way to make exposure corrections. There are now many different ways to correct lighting and exposure with much more finesse than the Dodge or Burn tools.
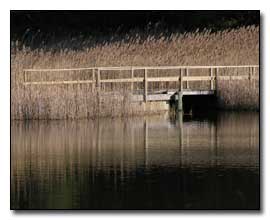
1. Open the file. Choose File --> Open --> Enter the image name to be fixed.
2. Choose Layer--> New--> Layer via Copy or (Ctrl-J) to create a new layer of the image.
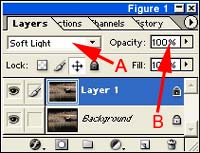
3. Change the Blending mode from 'Normal' to 'Soft Light' (Figure 1 A).
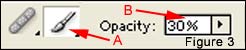
4. Choose the Brush tool and the size you wish to work with and set the opacity to 30% (Figure 3 A & B).
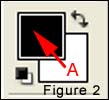
5. To dodge, make sure that the white square in your toolbox is set to 'foreground' (in front of the black square.
6. To burn, make sure that the black square in your toolbox is set to 'foreground' (in front of the white square - Figure 2 A).
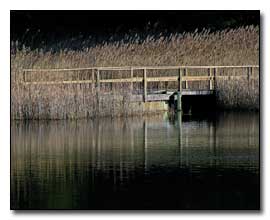
7. Paint over the area you need to burn or dodge.
8. Tweak the Opacity to taste with either method (Figure 1 B).
9. Choose Save As to save the file with a new name.