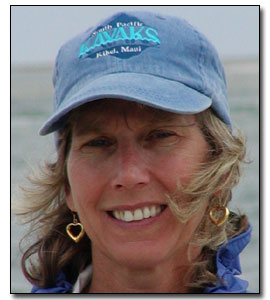
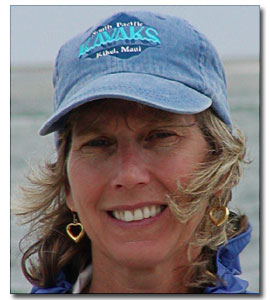
Sometimes you need to sharpen the hair and eyes while at the same time leaving the skin natural. Using the technique described below will add sharpness to the hair and eyes in your photographs.
How To Sharpen The Hair And Eyes
1. Open the file. Choose File --> Open --> Enter the image name to be fixed.
2. Make a duplicate copy of the image by either (Ctl+J) or Choose Layer --> New --> Layer Via Copy.
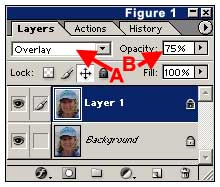
3. Select the new layer. Set the Blend Mode to Overlay (Figure 1 A) and set the Opacity to 75% (Figure 1 B). You can always change the opacity setting to suit your preference and your photograph.
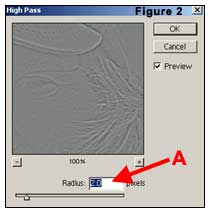
4. Select the new layer. Open the filter box. Choose Filter --> Other --> High Pass. Start with a setting of 2 for the Pixel Radius (Figure 2 A). You can always change this setting to suit your preference and your photograph. Click OK.
5. Choose the eraser and erase from the new layer any unwanted sharpness that is unnecessary. Set the eraser to a size which will enable you to erase small portions of your photograph.